Google Profiles for Yourself and Clients

As designers, you will be working in different Pardot environments for all our clients. All clients have separate Salesforce accounts that you will need to log into frequently to access Pardot and complete tasks. Some accounts will also have a WordPress website that we manage, and/or social media accounts. The best way to keep these accounts and their separate login credentials organized is to create separate Google Chrome Profiles for each account. But first, let’s make sure your personal Chrome profile is set up correctly and that you can access the shared Design email (read below for why this is important).

How to Set Up Your Chrome Profile

  • Open a new Google Chrome browser window. Make sure that you are signed into Google. If you are signed in correct, you will see your profile picture or initial of your first name on the top right of the browser (see screenshot below), as well as your email address when you hover over your photo.
  • Download the NordPass Chrome extension on this profile, and disable Google’s Password Management tool. Refer back to the NordPass Guide for more details on how to do these.
  • Your Google Chrome profile is your main working profile. You’ll use this profile to access any internal tools and non-client related sites. 


How to Sign Into the Design Gmail 

The design@saleslabx.com Gmail is a shared inbox for everyone at SLX. This is where you can locate all client Salesforce verification codes. You’ll need to set this up before setting up Chrome profiles for clients. To do this:

  1. Click on your larger profile photo on the top right of your browser, and select ’Add another account’. Then click on ‘User another account’.
  2. Enter the email as design@saleslabx.com and click ‘Next’. 
  3. On the ‘Enter your password’ screen, use your NordPass Chrome extension to search for “SalesLabx – Design Gmail”. Click on the fill button to populate the password for the email. This should sign you into the Design@saleslabx.com email. 
  4. Keep this inbox open as you’ll need it in the next step when setting up Chrome profiles for clients.
  5. Open Google Chrome and select the Design Profile from the profile options.
  6. When prompted to sign in, enter the Design account email and password.
  7. Google may ask for a verification code to confirm your identity.

    • If prompted with a screen that says a code was sent to an iPad, choose “Try another way.”

    • Select the option to send the code to a phone instead.

  8. Contact HR (Stephen Chung) via message to obtain the verification code sent to the phone.

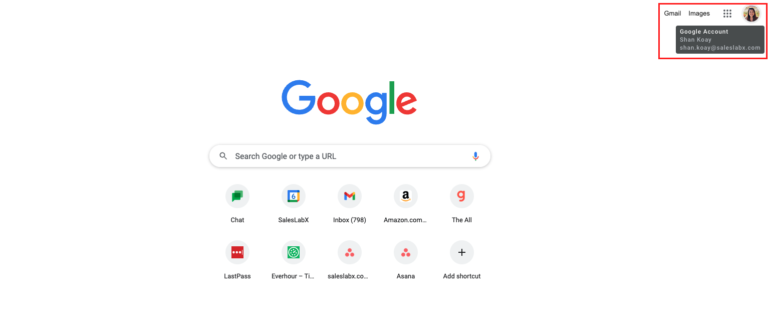
  9. Enter the code to complete the sign-in process. Once successfully signed in, you’ll know you’re in the correct profile when you see the blue “D” avatar in the top-right corner of your Chrome browser window.

How to Set Up Account Profiles in Chrome:

Now that you have your personal Chrome profile set up and can access the shared Design Gmail, you can set up Google profiles for all clients. Follow the written steps below or refer to the instructional video:

  1. Open up the Account Ownership Google Doc and click on the ‘Active Accounts’ tab. Here you’ll see a list of all our current clients. You will need to create a Google profile for each client.
  2. Go to your smaller profile pic on the very top right of your screen and click on it.
  3. Click on ‘+ Add’ and select ‘Continue without an account’.
  4. Enter in the name of the first account/client.
  5. Select an avatar or pick a theme color (we recommend selecting one that includes their brand colors if possible) and click ‘Done’.
  6. Follow the NordPass Guide steps to disable Google’s Password Management tool and add the NordPass extension.
  7. Once the extension is installed, login to your NordPass account through the extension.
  8. In the extension search bar, type in the client’s name (company name) you just created the new Google Chrome Profile for. Here you’ll be able to find your client’s managed accounts and the relevant login credentials for each.
  9. Launch each client’s related login from the extension and try to log into the account.
  10. Since this is your first time logging in, Salesforce will prompt you to enter a verification code. You can retrieve this code by going to our design@saleslabx.com email inbox.
    1. Login to the design@saleslabx.com inbox
    2. Retrieve the Salesforce verification code from the email inbox titled “Verify your identify in Salesforce”.
    3. Enter this code into the Salesforce login page that was asking you for the code. Moving forward, you shouldn’t need to get the verification code again to login unless the password is changed for the account.
    4. You should now be logged into the client’s Salesforce account! Pardot can be accessed through Salesforce as well.
    5. Repeat the above steps to create a Google Chrome Profile for each account.
 

Logging Into the Design Google Chrome Profile

The Design Chrome profile gives you access to shared team tools and files. Please follow the steps below to log in correctly.

Step 1: Access the Design Gmail Credentials

  1. Open NordPass.
  2. Locate the credentials labeled “SLX Design Gmail.”
  3. Copy the email address and password.
 

Step 2: Sign Into the Chrome Profile

  1. Open Google Chrome.
  2. In the top right corner, click on the profile icon and select “Add” (or “Sign in to Chrome” if no profile exists).
  3. Enter the email address and password for SLX Design Gmail (from NordPass).
  4. Follow the on-screen prompts to log in.
 

Step 3: Handle Google’s Security Verification

When signing in for the first time, Google may ask you to verify the login with a security code.

  • Do not use the iPad option.
  • Instead, select “Try another way.”
  • Choose the option to send the code to a phone.
  • Once prompted, message HR (Stephen Chung) to obtain the code that was sent to the phone.
  • Enter the code into Google’s prompt to complete login.
 

Step 4: Confirm You’re in the Correct Profile

You’ll know you are successfully logged into the Design Chrome profile if you see the blue “D” avatar in the top-right corner of your Chrome browser.


👉 Tip: Once you’ve logged in, Chrome will remember this profile for future use. You should not need to go through the code verification process again unless the profile is removed or reset.